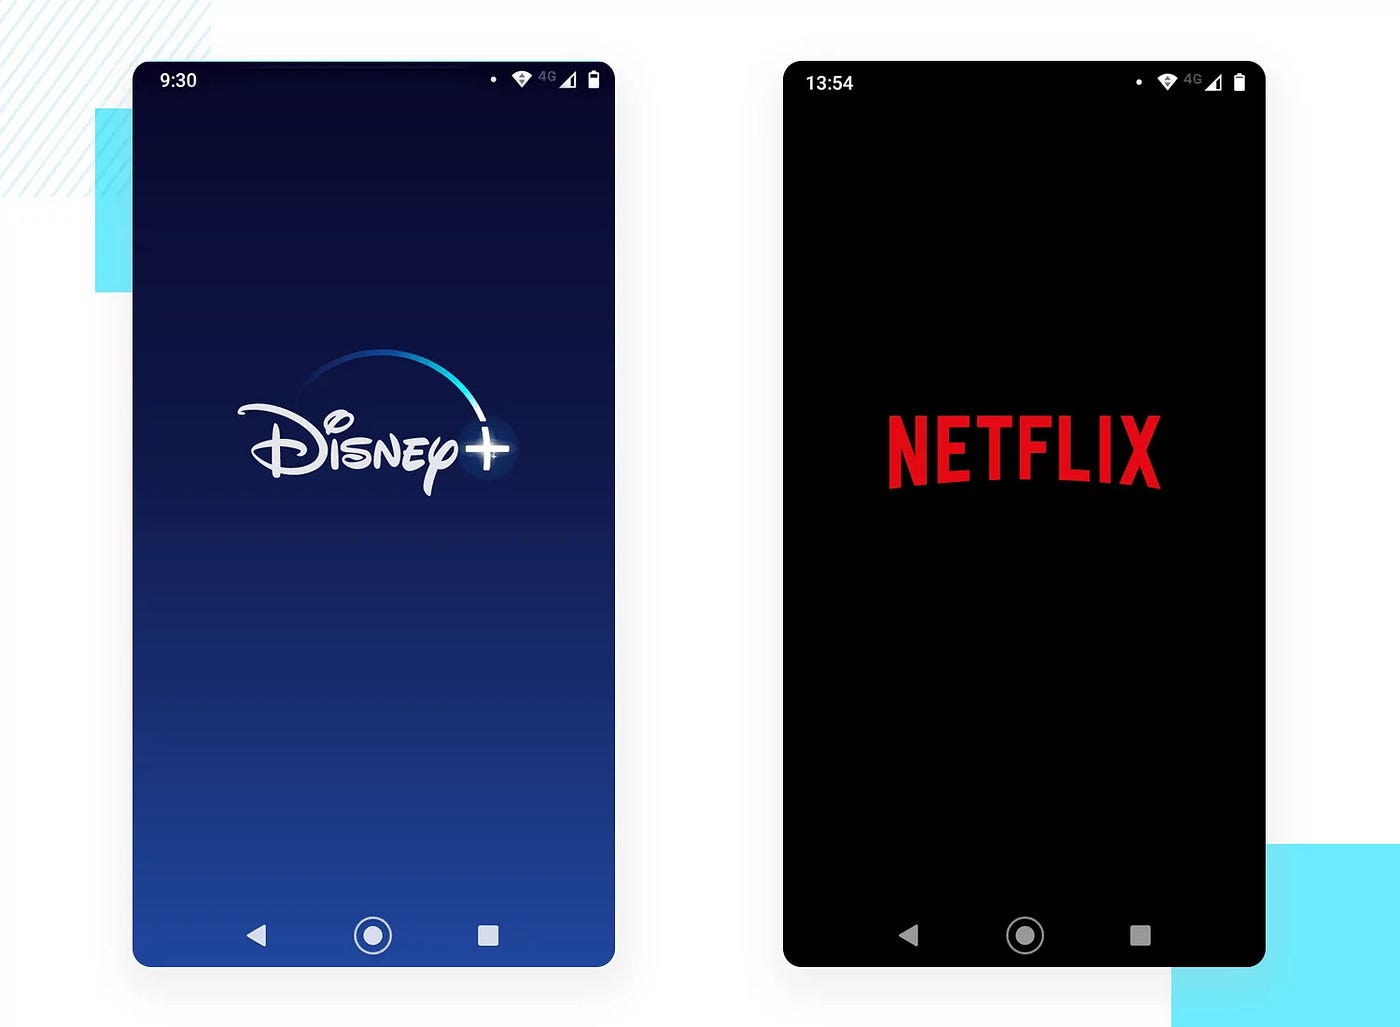
Greetings, fellow programmers! I'm excited to walk you through the process of using Android Studio to create a stylish and eye-catching splash screen for your Android app today. Let's go right into it!
Step 1: Set Up Your Android Project
xml in Android Manifest
<manifest xmlns:android="http://schemas.android.com/apk/res/android"
package="com.yourpackage.yourapp">
    <application
        android:allowBackup="true"
        android:icon="@mipmap/ic_launcher"
        android:label="@string/app_name"
        android:roundIcon="@mipmap/ic_launcher_round"
        android:supportsRtl="true"
        android:theme="@style/AppTheme">
        <activity android:name=".SplashActivity">
            <intent-filter>
                <action android:name="android.intent.action.MAIN" />
                <category android:name="android.intent.category.LAUNCHER" />
            </intent-filter>
        </activity>
        <activity android:name=".MainActivity"></activity>
    </application>
</manifest>
Step 2: Design Your Splash Screen Layout
xml
<?xml version="1.0" encoding="utf-8"?>
<RelativeLayout xmlns:android="http://schemas.android.com/apk/res/android"
    android:layout_width="match_parent"
    android:layout_height="match_parent"
    android:background="@color/splash_background">
    <ImageView
        android:id="@+id/imageViewSplash"
        android:layout_width="wrap_content"
        android:layout_height="wrap_content"
        android:src="@drawable/ic_launcher_foreground"
        android:layout_centerInParent="true"/>
    <!-- Add any additional branding elements here -->
</RelativeLayout>
Step 3: Implement the Intro Activity (SplashActivity.java)
java
public class SplashActivity extends AppCompatActivity {
private static int SPLASH_TIMEOUT = 2000; // Time in milliseconds

    @Override
    protected void onCreate(Bundle savedInstanceState) {
        super.onCreate(savedInstanceState);
        setContentView(R.layout.activity_splash);
        new Handler().postDelayed(new Runnable() {
            @Override
            public void run() {
                Intent homeIntent = new Intent(SplashActivity.this, MainActivity.class);
                startActivity(homeIntent);
                finish();
            }
        }, SPLASH_TIMEOUT);
    }
}
Step 4: Customize Your Splash Screen (strings.xml)
xml
<resources>
<string name="app_name">Your App Name</string>
    <string name="splash_text">Welcome to Your App</string>
</resources>
Step 5: Style Your Splash Screen (styles.xml)
xml
<style name="AppTheme" parent="Theme.AppCompat.Light.NoActionBar">
 <!-- Customize your theme here. -->
    <item name="colorPrimary">@color/colorPrimary</item>
    <item name="colorPrimaryDark">@color/colorPrimaryDark</item>
    <item name="colorAccent">@color/colorAccent</item>
</style>
<style name="SplashTheme" parent="AppTheme">
    <item name="android:windowBackground">@drawable/splash_background</item>
</style>
Conclusion:
Voila! You've become an expert at designing a visually appealing splash screen for your Android app using these sample codes. Your app will now greet visitors with an engrossing introduction as they begin their adventure. May your app shine brightly in the realm of Android development as you continue to innovate and create!
